
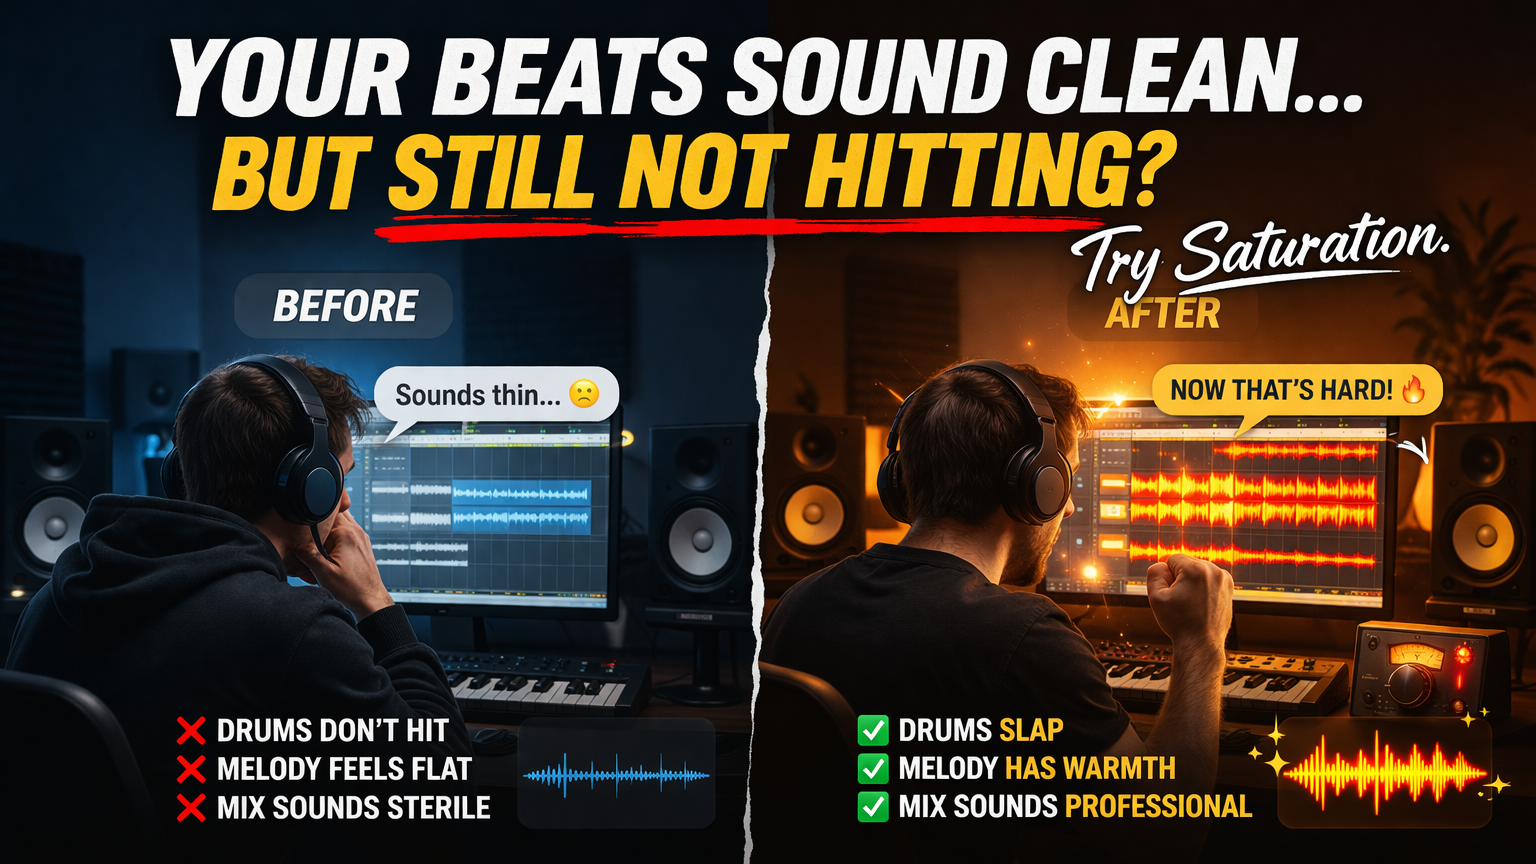
How to Add Warmth, Grit, and Professional Polish to Your Beats
If your beats feel clean… but a little too clean…
If your drums hit, but don’t punch…
If your mixes sound good, but not great…
There’s a good chance you’re missing one powerful ingredient:
Saturation.
Saturation is one of those tools that separates amateur-sounding beats from professional, industry-ready records. It’s subtle when used right—but it can completely transform your sound.
In this guide, you’re going to learn:
- What saturation actually is (in plain English)
- The different types of saturation and how they sound
- How to use saturation on drums, melodies, vocals, and full mixes
- Common mistakes producers make
- Advanced techniques to give your beats real character
Let’s get into it.
What Is Saturation in Music Production?
At its core, saturation is a type of distortion—but don’t let that word scare you.
When most people hear “distortion,” they think of blown-out guitars or aggressive clipping. Saturation is different. It’s more controlled, more musical, and often barely noticeable—yet incredibly impactful.
Simple Explanation
Saturation happens when you push an audio signal beyond its normal limits, causing it to gently “round off” instead of clipping harshly.
Instead of sharp digital peaks, you get:
- Warmer tones
- Added harmonics
- Subtle compression
- More perceived loudness
Think of it like this:
👉 Clean signal = flat and precise
👉 Saturated signal = richer and fuller
Get the BEST saturation plugins at Plugin Boutique
Why Saturation Matters in Beats
Modern DAWs are extremely clean. Almost too clean.
Back in the day, music was recorded through:
- Analog tape machines
- Hardware mixers
- Vintage preamps
All of these naturally added saturation.
That’s why older records feel:
- Warm
- Full
- Alive
Today, everything is digital—so if you don’t add saturation intentionally, your beats can feel:
- Sterile
- Thin
- Lifeless
What Saturation Does for Your Beats
- Adds harmonic richness
- Makes sounds feel closer and more present
- Increases perceived loudness without clipping
- Glues elements together
- Adds character and vibe
Understanding Harmonics (The Secret Sauce)
To really understand saturation, you need to understand harmonics.
When you saturate a sound, you’re not just making it louder—you’re adding new frequencies.
Example:
If you play a note at 100 Hz, saturation can introduce:
- 200 Hz
- 300 Hz
- 400 Hz
These are called harmonics, and they make the sound feel fuller and richer.
Why This Matters
- A bass can become audible on small speakers
- A snare can cut through a mix
- A melody can feel more “alive”
This is why saturation is so powerful—it enhances what’s already there.

Types of Saturation (And How They Sound)
Not all saturation is the same. Different types give different flavors.
Let’s break them down.
1. Tape Saturation
Tape saturation emulates analog tape machines.
Sound Characteristics:
- Warm
- Smooth
- Slight compression
- Rounded transients
Best Used On:
- Drums (especially kicks and snares)
- Full mixes
- Melodies
When to Use It
Use tape saturation when you want:
- A vintage feel
- Smoothness instead of harshness
- Subtle glue
2. Tube Saturation
Tube saturation comes from analog tube gear.
Sound Characteristics:
- Warm and thick
- Adds even-order harmonics
- Slightly more “colorful” than tape
Best Used On:
- Vocals
- Bass
- Leads
When to Use It
Use tube saturation when you want:
- Richness
- Body
- A bit more presence
3. Transistor Saturation
This comes from solid-state gear.
Sound Characteristics:
- Gritty
- Punchy
- More aggressive than tube or tape
Best Used On:
- Drums
- 808s
- Percussion
When to Use It
Use it when you want:
- Edge
- Punch
- Modern energy
4. Digital Saturation / Soft Clipping
This is saturation created inside your DAW.
Sound Characteristics:
- Clean but powerful
- Can be transparent or aggressive depending on settings
Best Used On:
- Drums
- Mix bus
- Mastering
How Saturation Affects Transients
Transients are the initial “hit” of a sound (like the snap of a snare).
Saturation:
- Softens harsh peaks
- Adds body to the sustain
- Can make sounds feel louder without increasing peak level
Why This Matters
Your drums can hit harder without clipping.
That’s a huge advantage in modern production.
Using Saturation on Drums
This is where saturation really shines.
Kick Drums
A saturated kick:
- Feels bigger
- Cuts through the mix
- Has more presence
How to Apply
- Add subtle saturation
- Focus on low-mid harmonics
- Don’t overdo it—too much can muddy the low end
Snares and Claps
Saturation helps snares:
- Crack harder
- Feel fuller
- Sit better in the mix
Pro Tip
Use parallel saturation:
- Duplicate the snare
- Saturate heavily
- Blend it underneath
Hi-Hats and Percussion
Saturation can:
- Add texture
- Reduce harshness
- Make hats sound less “digital”
Using Saturation on 808s and Bass
This is one of the most important uses.
Why Saturate Bass?
Low frequencies are hard to hear on small speakers.
Saturation adds harmonics in higher frequencies so the bass:
- Becomes audible on phones
- Cuts through the mix
- Feels more powerful
How to Do It
- Add light saturation
- Focus on midrange harmonics
- Avoid over-distorting the sub frequencies
Using Saturation on Melodies
Melodies can sound flat without saturation.
Adding saturation:
- Adds warmth
- Enhances detail
- Makes them feel more “expensive”
Best Approach
- Use subtle settings
- Focus on texture, not distortion
- Combine with EQ for best results
Using Saturation on Vocals
Even though you’re making beats, this is important if you work with artists.
Saturation can:
- Add presence
- Make vocals sound more intimate
- Help them sit in the mix
Chain Example
- EQ
- Compression
- Light saturation
- Reverb/delay
Parallel Saturation (Game-Changer)
Parallel processing is when you blend a processed signal with the original.
Why It Works
You get:
- The clarity of the original
- The energy of saturation
How to Do It
- Duplicate your track
- Add heavy saturation
- Lower the volume
- Blend to taste
Saturation on the Mix Bus
Yes—you can saturate your entire beat.
Benefits
- Glue
- Cohesion
- Warmth
Important Rule
Less is more.
A tiny amount can:
- Make your beat feel finished
- Add professional polish
Too much will:
- Destroy your mix
- Cause distortion
Gain Staging and Saturation
Saturation reacts to input level.
Key Idea
The louder the signal going in, the more saturation you get.
Pro Tip
Control your input gain:
- Lower input = subtle saturation
- Higher input = aggressive saturation
Common Mistakes Producers Make
1. Overusing Saturation
More isn’t always better.
Too much saturation:
- Kills dynamics
- Adds mud
- Makes mixes harsh
2. Ignoring Gain Staging
If your levels are off, saturation won’t behave correctly.
3. Using It on Everything
Not every sound needs saturation.
Be intentional.
4. Not A/B Testing
Always compare:
- With saturation
- Without saturation
Advanced Techniques
1. Multiband Saturation
Apply saturation to specific frequency ranges.
Example:
- Saturate mids, leave lows clean
2. Dynamic Saturation
Some plugins react to signal dynamics, adding saturation only when needed.
3. Saturation + Compression Combo
Saturation already compresses slightly.
Stacking it with compression can:
- Create punchy, controlled sounds
4. Creative Saturation
Push saturation hard for:
- Lo-fi vibes
- Gritty textures
- Unique sound design
How to Know When It’s Working
Ask yourself:
- Does the sound feel fuller?
- Does it cut through the mix better?
- Does it sound more “alive”?
If yes—you’re on the right track.
Building a Saturation Workflow
Here’s a simple system you can follow:
Step 1: Start Clean
Get your mix balanced first.
Step 2: Add Saturation to Key Elements
- Drums
- Bass
- Lead sounds
Step 3: Use Parallel Processing
For more control.
Step 4: Light Mix Bus Saturation
Glue everything together.
Final Thoughts: Saturation Is Subtle Power
Saturation isn’t about making things louder or distorted.
It’s about:
- Emotion
- Texture
- Character
It’s the difference between:
👉 A beat that sounds good
👉 A beat that feels professional
Action Steps
If you want to start using saturation today:
- Add it to your drums
- Try it on your 808s
- Experiment with parallel saturation
- Use a tiny amount on your mix bus
And most importantly:
Trust your ears. Please SHARE this Blog and Video with other producers. Thank You.
Watch my video on my favorite Saturation plugin
MY FAVORITE SAMPLE SOURCES & PLUGINS
1. LOOPCLOUD
If you’re serious about producing, Loopcloud is like having an infinite sample library in your pocket. You can search, preview, and time-stretch thousands of sounds to your track’s BPM before you even download them—saving you hours of digging and tweaking.
👉 Stop wasting time hunting for sounds—explore Loopcloud and find your next hit in minutes.
2. LOOPMASTERS
Loopmasters is the gold standard when it comes to royalty-free samples. From gritty Boom Bap drums to lush Neo-Soul chords, they’ve got pro-level sounds in every genre, recorded and processed by top engineers.
👉 Level up your beats with industry-grade sounds—grab your first Loopmasters pack today.
3. PLUGIN BOUTIQUE
Every producer needs the right tools, and Plugin Boutique is like a candy store for music creators. They offer everything from powerful synths to essential mixing plugins, often with exclusive deals you can’t find anywhere else.
👉 Unlock the plugins that pros swear by—shop exclusive deals on Plugin Boutique now.
4. BEATPORT
For producers who also DJ—or just want to stay ahead of the trends—Beatport is the ultimate source for high-quality tracks.
👉 Tap into the world’s hottest tracks—discover Beatport and stay ahead of the curve.
5. DJ CITY
DJ City is where DJs and producers go to get the freshest music before it blows up.
👉 Get the music nobody else has—join DJ City and own the crowd tonight.Li

Jimmy "Da Gent” Conway